/ post /
Best Farms for Minecraft Bedrock: Complete Guide
Best Farms for Minecraft Bedrock: The Complete Guide
Farms are the foundation of any successful Minecraft Bedrock world. They provide unlimited resources, experience points, and materials while you focus on building and exploring. Whether you’re playing on console, mobile, or Windows 10/11, these farm designs work across all Bedrock platforms.
This guide covers everything you need to know about building the best farms for Minecraft Bedrock, from beginner-friendly designs to advanced automated systems.
Why Build Farms in Minecraft Bedrock?
Farming in Bedrock Edition is essential for several reasons:
- Unlimited Resources: Never run out of food, materials, or fuel again
- Experience Grinding: Level up enchantments quickly without dangerous grinding
- Time Efficiency: Farms work 24/7, even when you’re building elsewhere
- Progression: Jump from early-game survival to late-game creativity
- Automation: Redstone systems handle repetitive tasks automatically
The key difference in Bedrock is spawn mechanics. Mobs won’t spawn near you regardless of distance, so farms need to be designed around where players aren’t present.
1. Automated Mob Farm
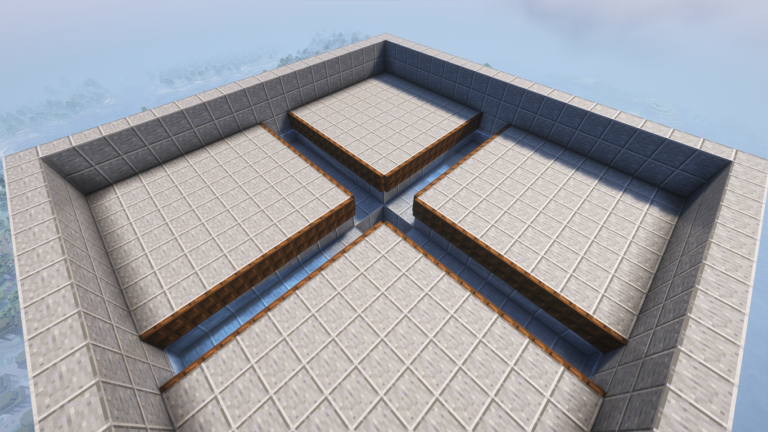
The mob farm is the most valuable farm you can build in Minecraft Bedrock. It provides experience points and drops from all mob types, accelerating your progression dramatically.
Why Build a Mob Farm?
- Generates massive amounts of experience for enchanting
- Collects drops: bones, arrows, gunpowder, string, leather, and more
- Provides a reliable enderman farm for pearls (essential for end-gate)
- Runs passively in the background while you play
Mob Farm Design Principles
Spawn Platform Requirements:
- Built in the Nether or high in the overworld (150+ blocks up)
- Located 120+ chunks from your base or any inhabited area
- Open, well-lit killing chamber where mobs are immediately dispatched
- Water channels directing drops to a central collection point
Layout:
- Create a dark spawning platform (4 or more blocks high)
- Build a perimeter to prevent mob escape
- Install water flow to push mobs toward a fall
- Add a 20-30 block drop for instant kill
- Collect drops with hoppers into storage
Performance Tip: Use campfires or magma blocks at the bottom to damage mobs instead of a fall if your device is struggling with item counts.
Efficiency Multiplier
A basic mob farm produces 1-2 stacks of drops per hour. Optimized multi-layer designs can yield 5+ stacks hourly, making them worth the build time investment.
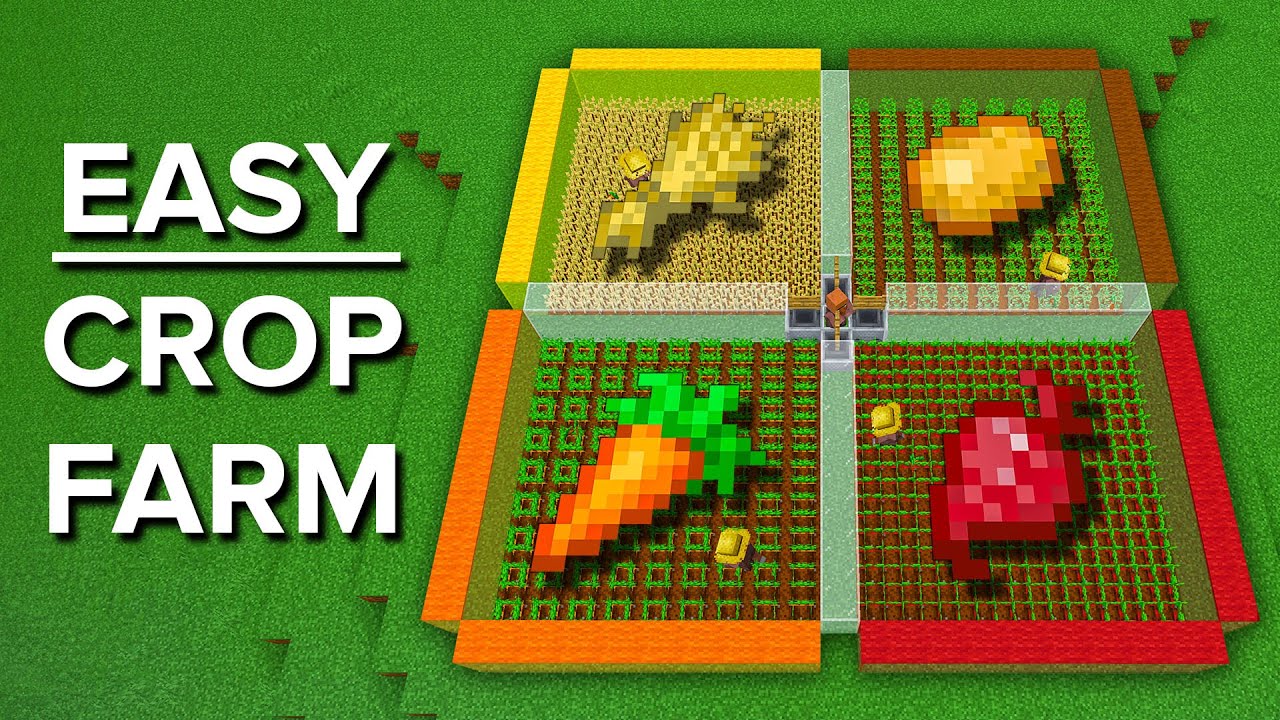
2. Crop Farm (Wheat, Carrots, Potatoes)
Crop farms are essential for food security and early-game progression. They’re also simple to automate with redstone.
Setting Up Your Crop Farm
Best Practices:
- Use hydrated farmland (place farmland adjacent to water)
- One water block hydrates farmland up to 4 blocks away horizontally
- Plant crops in organized rows for efficient harvesting
- Use observer blocks to detect growth
- Connect observers to pistons for automatic harvesting
Farm Layouts
Simple Manual Farm:
- Dig furrows 2 blocks wide
- Place water in the center
- Plant crops on both sides
- Harvest by hand when crops reach height 4
Automated Farm:
- Place observers above crops facing down
- Connect observers to pistons pushing crops into water channels
- Route water to hoppers for automatic collection
- Add a clock circuit to trigger harvesting on a timer
Crop Farm Efficiency
A 64-block crop farm produces enough food for sustained survival. An automated version requires 2-3 hours to build but pays dividends throughout your world’s lifetime.
3. Sugar Cane Farm
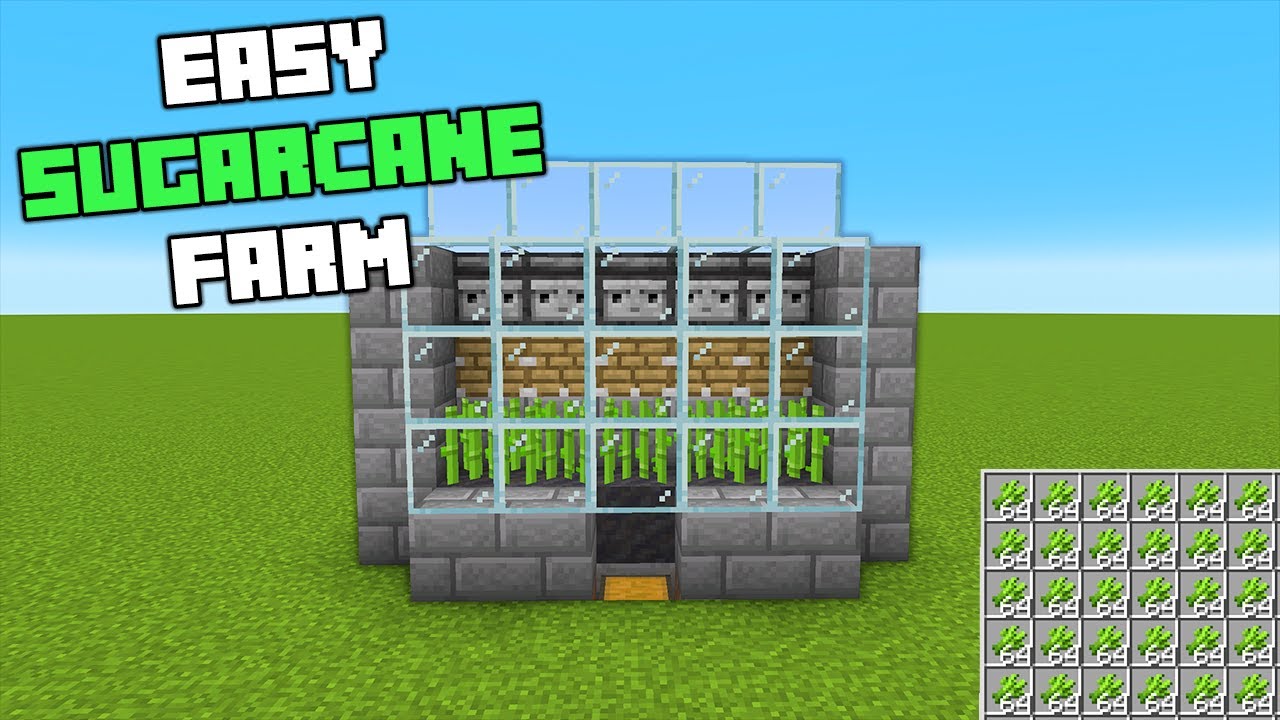
Sugar cane is surprisingly valuable and incredibly easy to automate. It’s perfect for players wanting their first automated farm.
Why Sugar Cane Farming Matters
- Paper Production: Essential for maps and books
- Sugar for Brewing: Needed for speed potions and other brews
- Early Game: Can be built within the first few game days
- Simplicity: Easier to automate than other crops
- Renewable: Grows infinitely on any dirt or sand
Automated Sugar Cane Farm Design
Setup:
- Plant sugar cane in 2-3 block high columns
- Place columns directly adjacent to water
- Install an observer on the side of each sugar cane at height 3
- Connect observers to pistons that push the cane into water
- Route water to hoppers and storage
Scalability: Start with 12-16 sugar cane plants (fits in one chunk). Expand to 64+ plants if you need paper production for a big project.
4. Fishing Farm
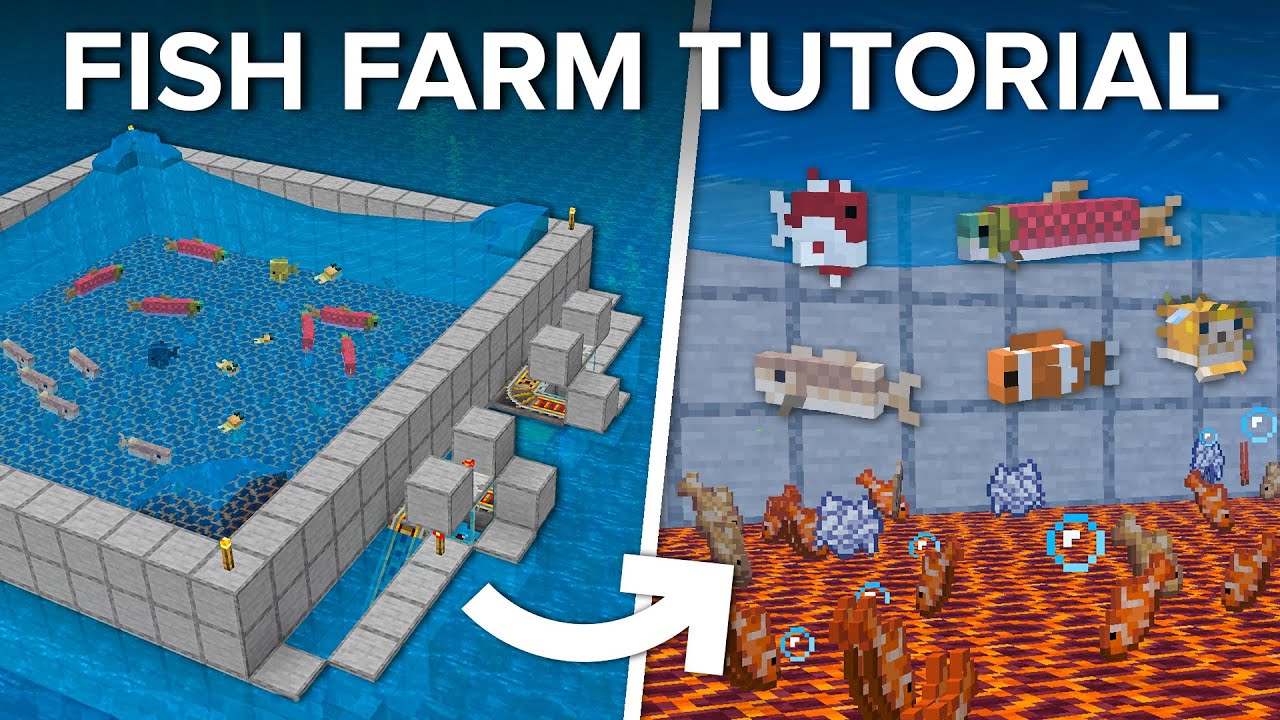
The most underrated farm type, fishing provides valuable treasure items without requiring experience or dangerous grinding.
Fishing Farm Benefits
- Enchanted Items: Catch enchanted fishing rods without grindstone
- Treasure Items: Saddles, name tags, and emeralds from treasure loot
- Experience Points: Passive XP generation while AFK
- Minimal Setup: Requires less space than most farms
- Reliable: Works consistently across all Bedrock versions
Building a Fishing Farm
Manual Fishing Setup:
- Create a 1-2 block deep water channel
- Build a dry platform for players to stand on
- Simple design catches fish every 5-10 seconds
Automated Fishing Farm:
- Use a flying machine or boat to simulate fishing bobber splashes
- Install tripwire hooks or daylight sensors to detect caught fish
- Use hoppers to transport caught items to storage
- Dispenser feeds fish directly into your inventory
AFK Fishing Tips:
- Bind rightclick to a key that holds down
- Position your character so fishing rod continues casting
- Leave afk overnight for passive loot accumulation
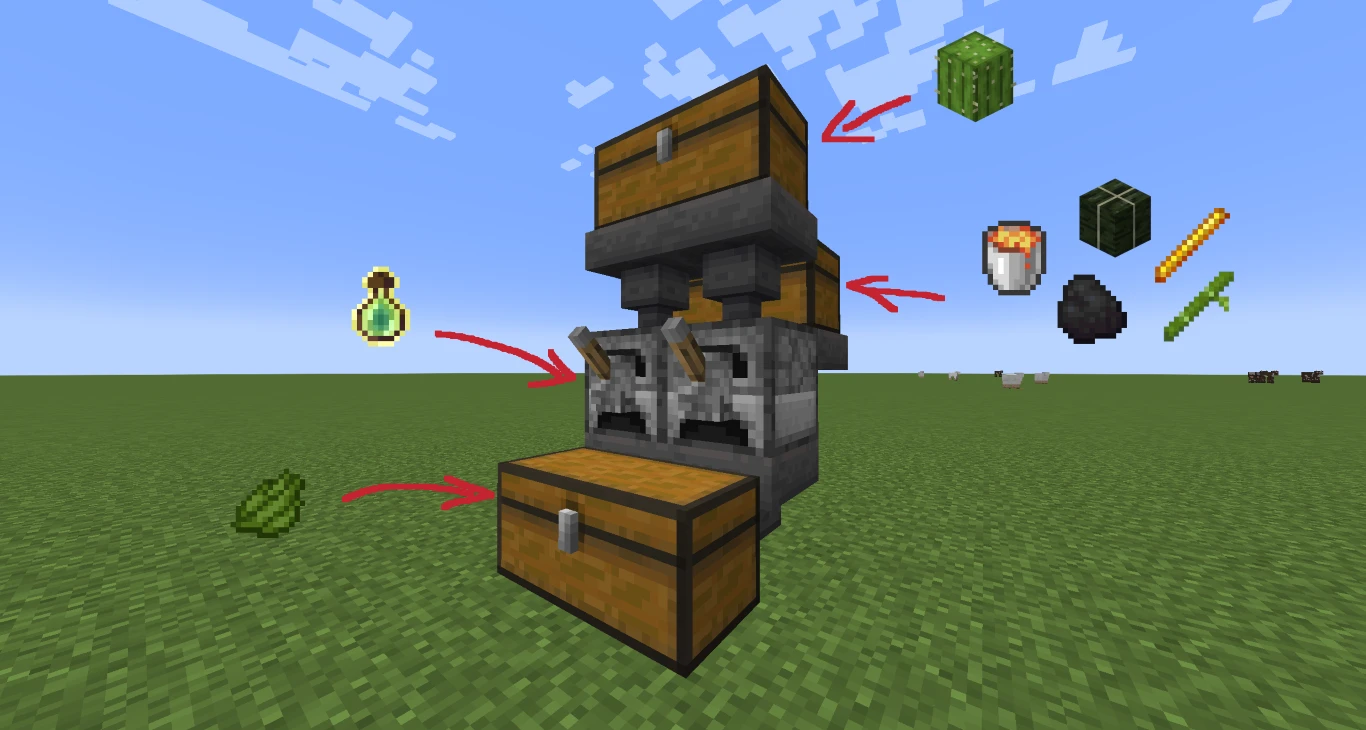
5. Cactus and Kelp Farm
For renewable fuel sources and valuable materials, cactus and kelp farms are efficient choices requiring minimal resources.
Cactus Farm
Setup:
- Plant cactus on sand blocks
- Never place cactus adjacent to other blocks (they’ll pop off)
- Arrange in columns with air gaps
- Use pistons to harvest when cactus reaches height 3
- Dried kelp smelts quickly for furnace fuel
Output:
- Green dye production for trades and decoration
- Renewable fuel source (dried cactus smelts faster than wood)
- Minimal space requirement (efficient vertical design)
Kelp Farm
Why Kelp Farming:
- Grows infinitely underwater with light
- Dried kelp is quick-smelting fuel
- Less common than cactus, good for specialized builds
- Unique aesthetic underwater farm
Kelp Farm Design:
- Create an underwater chamber with gravel columns
- Plant kelp on gravel at ocean floor
- Light source (glowstone) above water to prevent darkness
- Pistons harvest when kelp reaches max height
- Route items into a central collection point
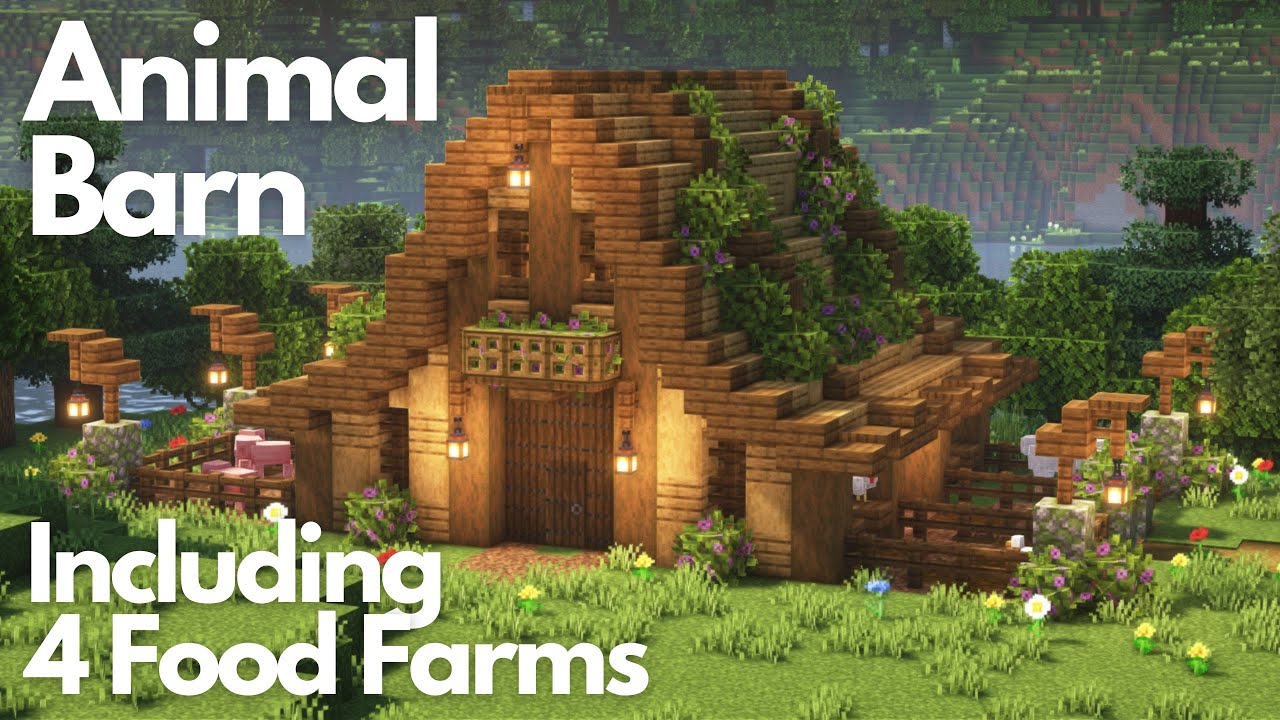
6. Animal Breeding Farm
A breeding farm provides sustainable meat, leather, wool, eggs, and other materials essential for progression.
Which Animals to Farm?
Cows (Best Overall):
- Drop leather (for saddles, books, armor)
- Drop beef (reliable food source)
- Breed with wheat
- Most efficient space-to-output ratio
Sheep (For Wool):
- Infinite renewable wool
- Colors for dyed blocks and decoration
- Breed with wheat
- Shear for wool without killing animals
Chickens (For Eggs):
- Renewable egg source for cakes
- Feathers for arrow crafting
- Raw and cooked chicken
- Breed with seeds (wheat, beetroot, melon)
Pigs (Secondary Option):
- Drop pork as secondary food
- Can’t be bred with anything useful
- Less efficient than cows
Automated Animal Farm Design
Setup:
- Build an enclosed pen with adequate space
- Place hoppers underneath for drop collection
- Use dispensers to feed animals (wheat/seeds)
- Add a detection system using comparators
- Route baby animals through a minecart system to separate pen
Efficiency:
- Each animal takes 5 minutes to breed after last breeding
- Keep pair fed to maximize breeding rate
- Separate babies from adults to prevent unwanted breeding cycles
- Cull weaker animals to maintain herd health
Advanced: Redstone Automation for Farms
Once you’ve built basic farms, redstone automation increases output dramatically.
Essential Redstone Components
Observers:
- Detect block updates (crop growth, piston movement)
- Trigger redstone circuits automatically
- No power consumption in Bedrock (unlike Java)
Pistons:
- Push/pull blocks for harvesting
- Extend/retract with redstone signal
- Core component of most automatic farms
Hoppers:
- Transport items automatically
- Transfer 2.5 items per second
- Stack up to 5 high for compact designs
Comparators:
- Detect item quantities in containers
- Trigger circuits when threshold reached
- Essential for overflow prevention
Dispensers:
- Automate planting by dispensing seeds
- Automate feeding by dispensing wheat
- Create potion brewing loops
Beginner Redstone Farm Project
Automated Sugar Cane Harvester:
- Plant sugar cane in rows next to water
- Place observer on side of sugar cane at height 3
- Connect observer output to a repeater (1-tick delay)
- Connect repeater to a piston pushing horizontal
- Position piston to push mature cane into water flow
- Route water to hoppers leading to storage
Result: Fully automated harvesting with minimal redstone knowledge required.
Farm Efficiency Reference Chart
| Farm Type | Hourly Output | Build Time | Difficulty | Automation |
|---|---|---|---|---|
| Mob Farm | 1-5 stacks drops + XP | 3-4 hours | Hard | Partial |
| Crop Farm | 64+ crops | 1-2 hours | Easy | Yes |
| Sugar Cane | 16+ cane | 1 hour | Very Easy | Yes |
| Fishing Farm | 20+ items | 2 hours | Medium | Optional |
| Cactus Farm | 32+ cactus | 1 hour | Very Easy | Yes |
| Animal Farm | Continuous drops | 1-2 hours | Easy | Yes |
Combining Farms: The Mega Farm Complex
Professional players build all farms in one location for efficiency:
Mega Farm Layout:
- Central hub with storage system
- Mob grinder tower (vertical, 150+ blocks)
- Crop farm rows around perimeter
- Animal barn on one side
- Fishing platform on another
- Cactus/kelp farm in secondary structure
Advantages:
- Single storage system feeds all output
- Centralized brewing and crafting area
- Easier to monitor all production
- Looks professional and organized
Common Farm Building Mistakes
Mistake 1: Building Too Close to Base Mobs won’t spawn within 24 blocks of players. Build farms at least 120+ chunks away or 150+ blocks up.
Mistake 2: Insufficient Lighting Unlit farms spawn hostile mobs everywhere. Light every farmable area with torches or lanterns.
Mistake 3: Wrong Water Flow Water flows 7 blocks horizontally. Use multiple water sources for large farms and ensure proper slope.
Mistake 4: Overly Complex Redstone Start simple. A basic observer-piston setup works fine. Add complexity only if needed.
Mistake 5: Forgetting Escape Routes Build exit ladders or slime blocks to escape flooded areas during construction.
Farm Troubleshooting Guide
Farm producing nothing:
- Check distance from spawn (too close to player activity)
- Verify water is flowing correctly
- Ensure redstone circuit is powered
- Confirm hoppers face correct direction
Redstone not working:
- Test power source (redstone dust lights up when powered)
- Check repeater directions (arrow shows output direction)
- Verify observers are correctly oriented
- Rebuild simple sections to isolate problem
Mobs escaping:
- Add higher walls (mobs jump 1.5 blocks)
- Install overhang to prevent climbing
- Use trapdoors or slabs to block escapes
- Check for gaps in perimeter
Hoppers clogging:
- Reduce farm output temporarily
- Add second collection hopper
- Use comparators to pause farm when storage full
- Expand storage capacity
Best Practices for Farm Building
- Plan Before Building: Sketch layout on paper first
- Test Components: Build one sugar cane plant before full farm
- Leave Space: Don’t pack farms too tightly (harder to fix)
- Document Redstone: Label circuits so you remember how they work
- Regular Maintenance: Clear jams and check flow weekly
- Expansion Room: Build farms 20% larger than needed for growth
Progression: Which Farm to Build First
First Week:
- Sugar Cane Farm (simplest automation)
- Crop Farm (basic farming)
- Animal Pen (breeding basics)
Second Week:
- Cactus Farm (advanced observer mechanics)
- Fishing Farm (treasure hunting alternative)
Late Game:
- Mob Grinder (most complex, most rewarding)
- Mega Complex (combining all farms)
Conclusion
The best farms for Minecraft Bedrock transform your world from survival mode to creative playground. Start with simple farms like sugar cane and crops, then progress to more complex automated systems.
Each farm type serves a specific purpose. Combine them strategically, and you’ll have unlimited resources enabling everything from construction projects to potion brewing to end-game exploration.
Start today: Build one small farm this session. Next session, automate it. By next week, you’ll have a functioning farm complex that handles resource gathering while you enjoy building your dream base.
Pro Tips for Bedrock Farm Success:
- Watch tutorial videos specific to Bedrock (mechanics differ from Java)
- Start farms far from your base or high in the sky
- Use Structure Blocks to copy-paste farm designs
- Test farms in Creative mode before committing resources
- Join Bedrock communities to share designs and get feedback